There is a GitHub issue for this problem, but there is no working solution and the issue is locked. The issue does mention setting Swipers‘ roundLengths to true, but this didn’t work for me.
My workaround (for a single slide slideshow):
 .swiper-slide-next {
   translate: 1px 0;
 }
It reliably fixes the problem without affecting the slideshow on devices that don’t have this issue.
As a Drupal themer, you’ve likely encountered situations where you need to remove a block or a wrapper element only if it’s empty. Since Twig templates can’t always perform this check without breaking cacheability (especially for nested elements), a common pattern is to add a specific class, like js-empty-check, and handle the removal with JavaScript.
The logic seems simple: on page load, find all elements with this class, and if they have no children, remove them.
The Problem: A Race Against BigPipe
This approach works perfectly until you factor in Drupal’s BigPipe module. BigPipe improves front-end performance by streaming page content and replacing placeholders with dynamic content after the initial page load.
This creates a classic race condition. Your js-empty-check script often runs before BigPipe has finished its work. It inspects an element, finds a <data-big-pipe-placeholder> tag inside, and incorrectly concludes that the element is not empty. The wrapper stays, even though the final rendered content might be empty, leaving you with unwanted layout gaps.
The Solution: Leveraging Drupal Behaviors
The key to solving this isn’t to try and out-race BigPipe or use complicated event listeners. The solution lies in embracing the Drupal JavaScript API, specifically Drupal.attachBehaviors.
When BigPipe (or any AJAX request) inserts new content into the DOM, it calls Drupal.attachBehaviors on that new content. We can use this hook to intelligently re-run our check.
Our implementation works in two stages within the attach function:
Initial Check: It scans for .js-empty-check elements within the current context. If an element contains a BigPipe placeholder, it’s ignored for now. If it’s genuinely empty, it’s removed. If it has content, the class is removed to prevent re-processing.
Post-BigPipe Check: When attachBehaviors is called on new content from BigPipe, we know that a placeholder has just been replaced. Our script then traverses up from that new content (context) to find any parent elements with the .js-empty-check class and re-runs the check on them.
This ensures that containers are re-evaluated at the exact moment they’ve been populated with their final content.
The Code
Here is the implementation within Drupal.behaviors:
(function ($, Drupal) {
  Drupal.behaviors.myThemeEmptyCheck = {
    attach: function (context, settings) {
      /**
       * Checks a given jQuery element to see if it's effectively empty and removes it if it is.
       * @param {jQuery} $element The element to check.
       */
      function emptyCheck($element) {
        // If the element still contains a BigPipe placeholder, we can't determine its state yet.
        // We'll wait for the placeholder to be replaced, which triggers attachBehaviors again.
        if ($element.find('[data-big-pipe-placeholder-id]').length > 0) {
          return;
        }

        // An element is empty if it has no child elements and its trimmed HTML content is empty.
        if ($element.children().length === 0 && $element.html().trim() === '') {
          // Remove the element from the DOM.
          $element.remove();
        } else {
          // It's not empty, so we remove the class to prevent future checks.
          $element.removeClass('js-empty-check');
        }
      }

      // 1. Check elements that are themselves the context or are inside the current context.
      $('.js-empty-check', context).each(function () {
        emptyCheck($(this));
      });

      // 2. After an AJAX or BigPipe load, the context is the new content.
      //    The .js-empty-check element might be a PARENT of this new content.
      //    We need to find and re-check those parents.
      if (context !== document) {
        $(context)
          .parents('.js-empty-check')
          .each(function () {
            emptyCheck($(this));
          });
      }
    },
  };
})(jQuery, Drupal);
By hooking into the standard behavior system, we create a clean, robust, and efficient solution that works with Drupal’s rendering pipeline instead of fighting against it.
I came across the dvh = „dynamic view height“ unit a couple of years ago, where the browser support was very bad.
Now we have about 95%, which should be enough for most projects – if not @supports should do the trick, so DVH could be used as an progressive enhancement.
This is particularly useful when dealing with mobile browsers that hide the address bar when scrolling.
This is an updated version of this article, because looping through blocks inside a region template is a bad idea, and there are better ways to add classes to blocks.
I’ve invested some time to create a Icomoon.io Package of Fork Awesome, based on the broken SVG icons from the current Fork Awesome release (1.2.0). I have basically resized and centered them, to fit the canvas size, so some icon sizes might be not perfect.
Fork Awesome 1.2.0 · A fork of Font Awesome, originally created by Dave Gandy, now maintained by a community. Fork Awesome is licensed under SIL OFL 1.1· Code is licensed under MIT License. Documentation is licensed under CC BY 3.0.
In Drupal Themes its very easy to extend existing libraries using the themes .info (and .libraries) file. This ain’t possible in a Mobule .info file. So we need a hook to do this:
/**
 * Implements hook_library_info_alter()
 * - Extend some module libraries we support or require for MY_MODULE
 */
function MY_MODULE_library_info_alter(&$libraries, $extension) {
  if ($extension == 'views_bulk_operations' && isset($libraries['frontUi'])) {
    // Extend existing library views_bulk_operations/adminUi
    // Important! That a library is listed by this hook, doesn't mean the library is attached, it just means its registered.
    $libraries['frontUi']['dependencies'][] = 'MY_MODULE/MY_LIBRARY_NAME';
  }
}
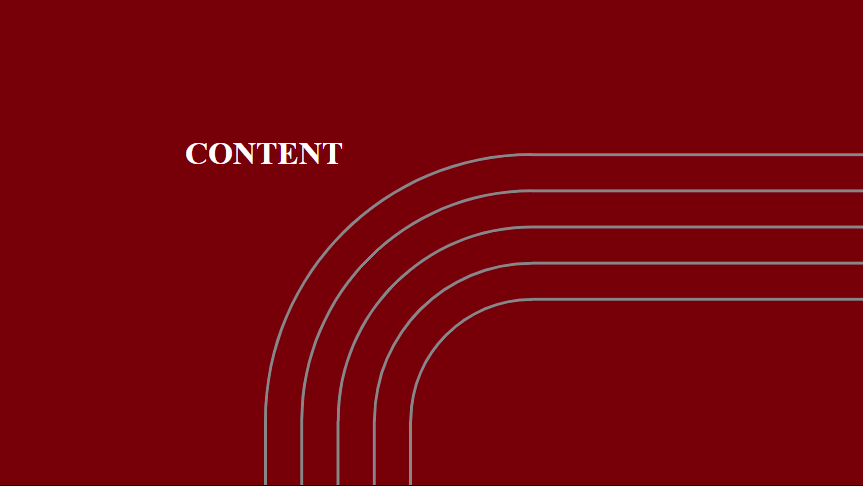
Not the first time i ran into problems with SVGs preserveAspectRatio attribute, but i can’t remember a case where Firefox handled this different from Chrome. However, lets have look at the this weird behavoir.
The goal was to build a very flexible lines-background-element with CSS-Grid:
Chrome result without preserveAspectRatio=“false“ on the SVG-Wrapper
While Chrome renders everything perfectly fine, Firefox produced this:
Firefox result without preserveAspectRatio=“false“ on the SVG-Wrapper
So after testing around, with the background-size, -position, etc. the conclusion was that the SVG itself must be the problem. And it kinda was, but i’im pretty sure its a Firefox Bug with SVG + background-size. As you can see in the code, i was not trying to change the aspect-ratio in any way, i just set a fixed with + auto height for the background and let em repeat verticaly, so the preserveAspectRatio shouldn’t needed here.