I came across the dvh = „dynamic view height“ unit a couple of years ago, where the browser support was very bad.
Now we have about 95%, which should be enough for most projects – if not @supports should do the trick, so DVH could be used as an progressive enhancement.
This is particularly useful when dealing with mobile browsers that hide the address bar when scrolling.
I’ve invested some time to create a Icomoon.io Package of Fork Awesome, based on the broken SVG icons from the current Fork Awesome release (1.2.0). I have basically resized and centered them, to fit the canvas size, so some icon sizes might be not perfect.
Fork Awesome 1.2.0 · A fork of Font Awesome, originally created by Dave Gandy, now maintained by a community. Fork Awesome is licensed under SIL OFL 1.1· Code is licensed under MIT License. Documentation is licensed under CC BY 3.0.
Selbst eingebundene Videos via Consent Manager blockieren / freischalten
Im Beispiel sind nur die für den Consent Manager nötigen Attribute definiert, für ein umfangreicheres Beispiel, kann man sich beispielsweise das Core Video OPC-Portlet ansehen (\includes\src\OPC\Portlets\Video\Video.tpl).
Es gibt bedauerlicherweise kein Plugin um das zu erreichen (vom Alleskönner Dropper mal abgesehen), daher habe ich den Templatefile über das ID Feld der CMS Seite geladen und lasse einen Fehler ausgeben wenn die Datei nicht existiert:
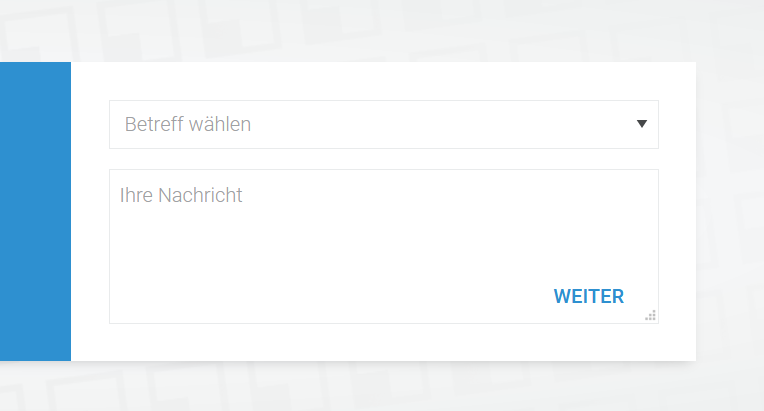
For now, there is no placeholder attribute available for HTML select elements what is really bad if you need to achive some kinda reduced form styling, without field labels and stuff.
Example form with placeholder style select label
But there is a workaround, we have to add the label as the first option with a value=““. Now we want to style it like the other placeholder texts. To do so we need just a little JS & CSS:
If you have trouble with your z-index using the transform property, you should try to set transform: translate3d(0,0,0) translateZ(1000px) on the element what should overlay the other element(s).
But be careful, this fucks up all your z-indexes, you have to add translateZ(xxxx) to all elements who should overlay your overlaying element. If you have some position: fixed elements inside your overlaying element, they will fail as well (you must move it outside any container on which you have applied the translateZ property).
Example:
// (Animated) element behind the page
.background-animation-element{
  position:absolute;
  left:50%;
  top:100px;
  z-index:1;
  transform: perspective(200px) rotateX(26deg);
  animation: whatever 1s;
  // ...
}
// Page wrapper in front of the element
.page-wrapper{
  // The part that should work in all major browsers - except safari:
  position:relative;
  z-index:50;
  // The Safari fix:
  transform: translate3d(0,0,0) translateZ(1000px);
}
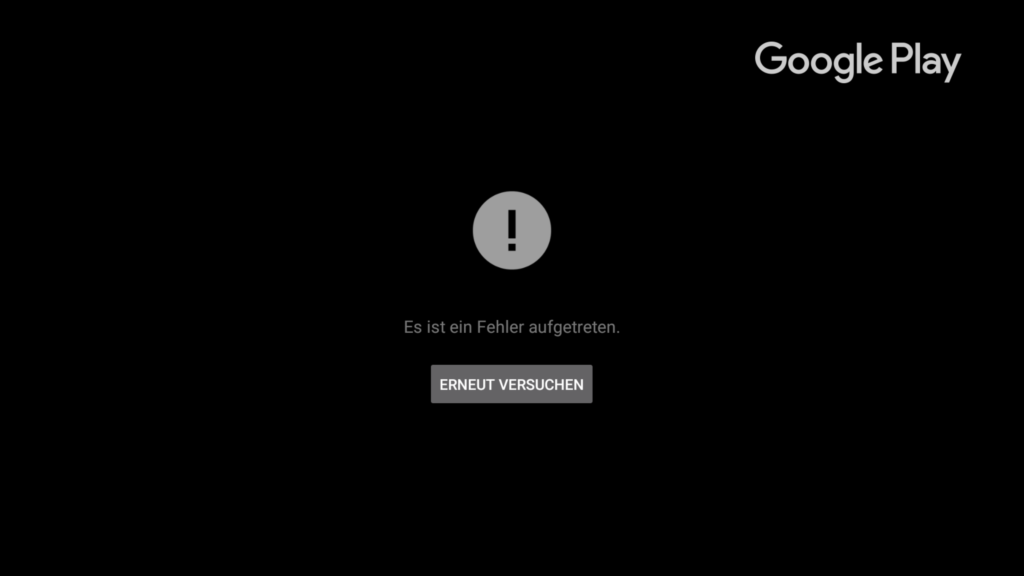
Seit geraumer Zeit konnte ich einige Videos nicht mehr abspielen, der Abspielversuch wurde – abhängig vom Film – mit der Meldung „Es ist ein Fehler aufgetreten“ quittiert. Gleiches beim Abspielen von Trailern.
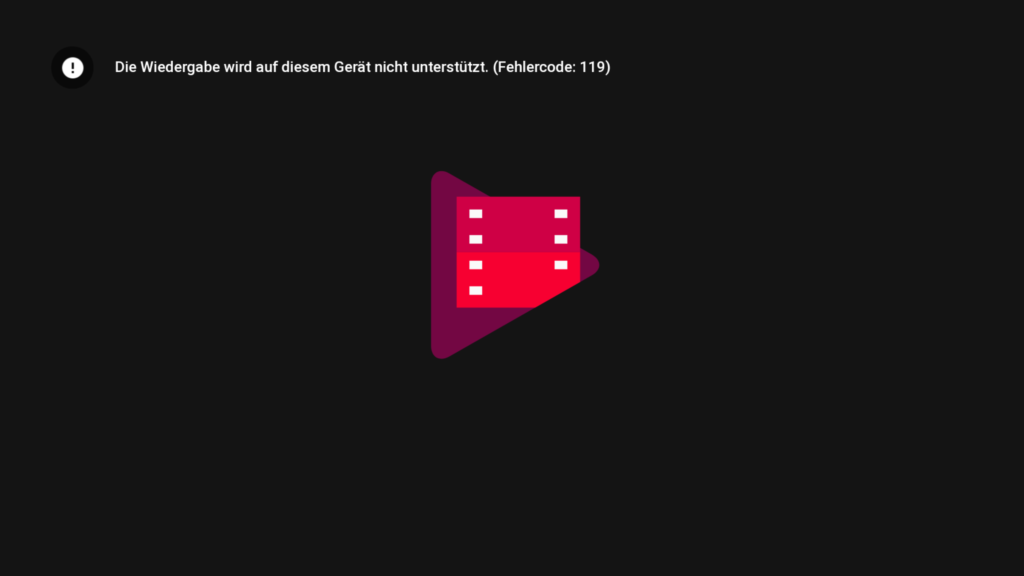
Der Versuch das Problem per Chromecast zu umgehen schlug ebenfall mit der Meldung „Die Wiedergabe wird auf diesem Gerät nicht unterstützt. (Fehlercode: 119)“ fehl.
Die Lösung ist denkbar einfach: Öffnet die Einstellungen eures Android TV Geräts und sucht den Punkt „Apps“, bei Nvidia Shield auf erster Ebene der Einstellungen im Bereich „Allgemeine Einstellungen“ zu finden. Hier wählt hier nun „Google Play Filme & Serien“ und löscht zuerst den Cache. Ich habe direkt alles durchgezogen, daher kann ich nicht abschließend sagen was nun geholfen hat: Cache geleert, Daten gelöscht, Deaktiviert und wieder aktiviert.
Anschließend ließ sich – bis auf einen einzelnen Film („Suborbicon“) – alles wieder abspielen.
Aus Gründen beschränkt JTLs EVO Template die Maximallänge von Kundenpasswörtern leider hart im Template.
Ich will an der Stelle nicht beurteilen warum so ein niedriger Wert angesetzt wurde, sehe jegliche Passwort Restriktionen (welche nicht zur erhöhten Sicherheit beitragen) aber als extrem kontraproduktiv an.
Die Maximallänge kann in der register/form/customer_account.tpl angepasst werden – im eigenen Sub Theme, nicht im EVO versteht sich. Der Wert muss für beide Passwortfelder angepasst werden, Attribut „maxlength“.