webksde

Good ol‘ Font Awesome: Fork Awesome

I’m not a big fan of Font Awesome 5, i’m sure it has an amazing feature set and stuff, but I’m completely fine with simple, working iconfonts.

However, I just wanted to drop a link to project „Fork Aswesome“, a fork of Font Awesome 3 who keeps it updated. Fantastic!

Migrate to a Dell Inspiron with Clonezilla (Windows 10)

Migrating SOME notebook to a current Dell notebook (Inspiron from 2020 in this case) using Clonezilla has some pitfalls, so i decided to publish the procedre.

Hint: After this you will not be able to (re)activate RAID in the BIOS, or lets say… doing this will result in boot problems you have to solve by yourself. I stick with AHCI.

I will not go into detail how to create a Clonezilla bootstick, i just recommend my favorite tool to create those bootsticks under Windows: https://www.linuxliveusb.com.

1. Create your disc clone / image / …

Clone your old disc to an external USB drive using Clonezilla. I’ve cloned the whole dics instead of just the needed C: Partition, to have a full backup of the old notebook. So ..feel free to just clone the C: partition.

2. Prepare the Target PC (your new Dell Notebook)

You need to enter the BIOS by pressing the F2 key while booting. Now select „System Configuration“, search for „SATA Operation“ and switch from RAID to AHCI, otherwise – at the moment of writing this – Clonezilla is not able to enter the local drives.

3. Clone

Boot to the Clonezilla stick and choose to clone just the C: partition of the clone you’ve created in step 1.

After this is done, you reboot the PC, some ..aggregating.. repair .. spinner screens will automaticaly show up. After this is done, Windows 10 will start as usal. No struggle with the bootloader or something (what will happen very likely if you override the whole disc).

4. Download Dell Software and fix BIOS settings

The touch pad doesn’t worked well for me after the migration. Simply use Windows Update, it will install some Dell apps. Start the „Dell Update“ App, it will automaticaly install all Drivers.

An your’e done.

    JTL Shop (4): Eigene SMARTY Template Files in CMS Seiten laden

    Es gibt bedauerlicherweise kein Plugin um das zu erreichen (vom Alleskönner Dropper mal abgesehen), daher habe ich den Templatefile über das ID Feld der CMS Seite geladen und lasse einen Fehler ausgeben wenn die Datei nicht existiert:

    {extends file="../../Evo/layout/index.tpl"}
    {block name="content"}   
        {if !empty($Link->cIdentifier) && ($Link->cIdentifier|substr:0:11 eq "custom-tpl-")}
            <!-- load custom tpl: {$Link->cIdentifier}.tpl -->
            {assign var="custom_tpl_file_path" value="__custom-cms-tpl/{$Link->cIdentifier}.tpl"}
    
            {if file_exists("SERVERPFAD_ZUM_TEMPLATE/{$custom_tpl_file_path}")}
                {include file=$custom_tpl_file_path}
            {else}
                <div class="alert alert-danger">
                    Datei: "{$custom_tpl_file_path}" nicht gefunden.
                </div>
            {/if}
        {/if}
        {$smarty.block.parent}
    {/block}

    Das ganze in der layout/index.tpl im Bereich von H1 + cContent der CMS Seiten einfügen und natürlich den Serverpfad zum template ersetzen.

      CSS (fake) placeholder text for select elements

      For now, there is no placeholder attribute available for HTML select elements what is really bad if you need to achive some kinda reduced form styling, without field labels and stuff.

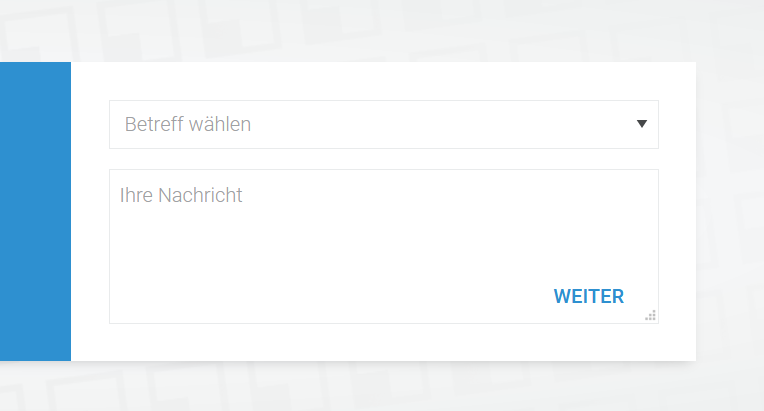
      HTML Select element with fake placeholder
      Example form with placeholder style select label

      But there is a workaround, we have to add the label as the first option with a value=““. Now we want to style it like the other placeholder texts. To do so we need just a little JS & CSS:

            var $placeholderSelects = $('form select');
            if($placeholderSelects.children().first().is(':selected')){
              $placeholderSelects.addClass('select-placeholder-option-active');
            }else{
              $placeholderSelects.removeClass('select-placeholder-option-active');
            }
            $placeholderSelects.on('change', function(){
              if($(this).children().first().is(':selected')){
                $(this).addClass('select-placeholder-option-active');
              }else{
                $(this).removeClass('select-placeholder-option-active');
              }
            });

      The JS ensures that we just have the placeholder style / color, if the first value is selected. (Yes, i better should put this in a function …)

      select{
        &.select-placeholder-option-active{
          color: $input-placeholder-color;
          > option:not(:first-child){
            color: $input-color;
          }
        }
      }

        Safari transform z-index bug workaround

        If you have trouble with your z-index using the transform property, you should try to set transform: translate3d(0,0,0) translateZ(1000px) on the element what should overlay the other element(s).

        But be careful, this fucks up all your z-indexes, you have to add translateZ(xxxx) to all elements who should overlay your overlaying element. If you have some position: fixed elements inside your overlaying element, they will fail as well (you must move it outside any container on which you have applied the translateZ property).

        Example:

        // (Animated) element behind the page
        .background-animation-element{
          position:absolute;
          left:50%;
          top:100px;
          z-index:1;
          transform: perspective(200px) rotateX(26deg);
          animation: whatever 1s;
          // ...
        }
        // Page wrapper in front of the element
        .page-wrapper{
          // The part that should work in all major browsers - except safari:
          position:relative;
          z-index:50;
          // The Safari fix:
          transform: translate3d(0,0,0) translateZ(1000px);
        }

        Android TV: Google Play Filme spielt (einige) Videos nicht mehr ab (Nvidia Shield)

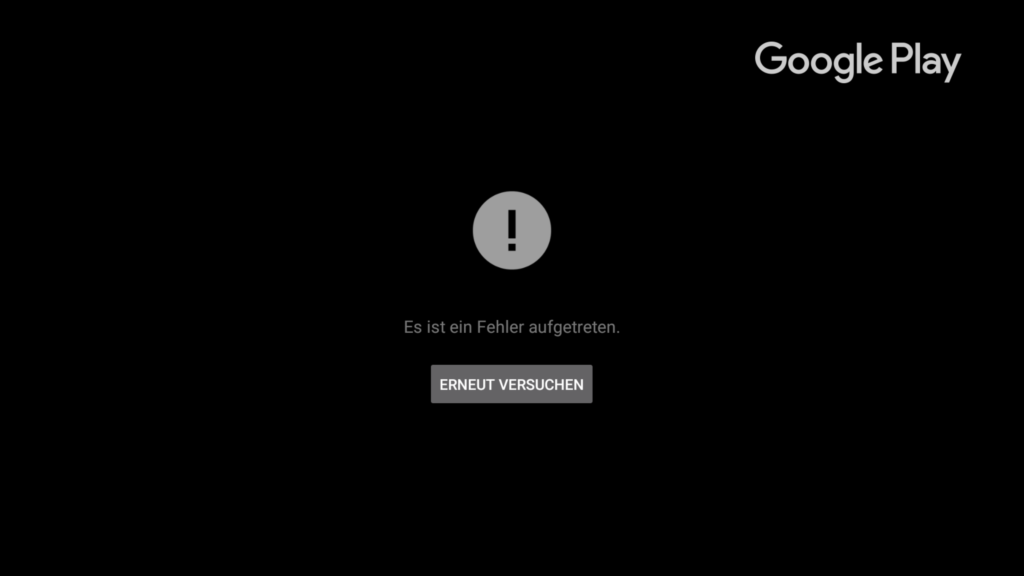
        Seit geraumer Zeit konnte ich einige Videos nicht mehr abspielen, der Abspielversuch wurde – abhängig vom Film – mit der Meldung „Es ist ein Fehler aufgetreten“ quittiert. Gleiches beim Abspielen von Trailern.

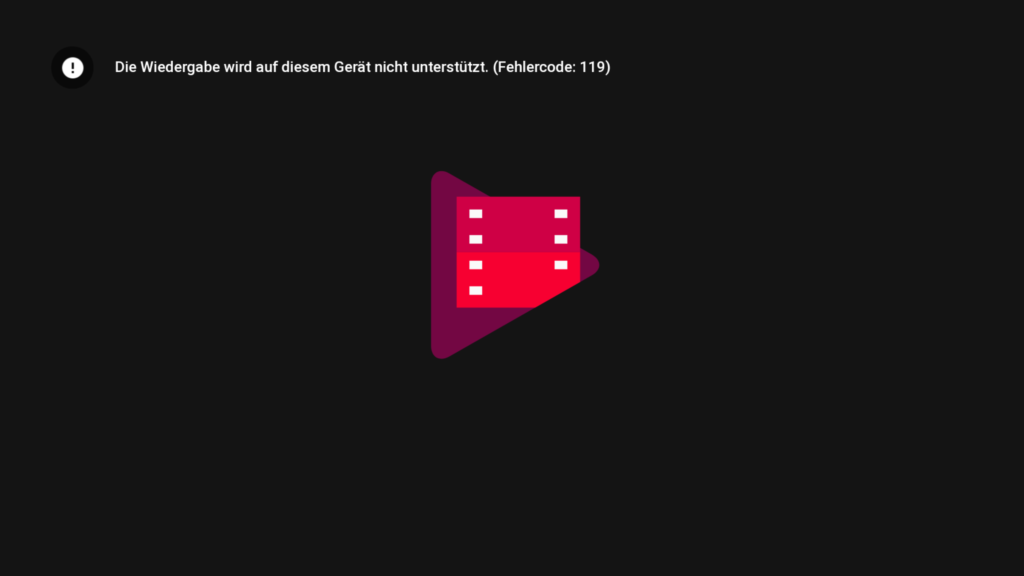
        Der Versuch das Problem per Chromecast zu umgehen schlug ebenfall mit der Meldung „Die Wiedergabe wird auf diesem Gerät nicht unterstützt. (Fehlercode: 119)“ fehl.

        Die Lösung ist denkbar einfach: Öffnet die Einstellungen eures Android TV Geräts und sucht den Punkt „Apps“, bei Nvidia Shield auf erster Ebene der Einstellungen im Bereich „Allgemeine Einstellungen“ zu finden. Hier wählt hier nun „Google Play Filme & Serien“ und löscht zuerst den Cache. Ich habe direkt alles durchgezogen, daher kann ich nicht abschließend sagen was nun geholfen hat: Cache geleert, Daten gelöscht, Deaktiviert und wieder aktiviert.

        Anschließend ließ sich – bis auf einen einzelnen Film („Suborbicon“) – alles wieder abspielen.

          JTL Shop 4 EVO Template – Kundenpasswörter Maximallänge anpassen

          Aus Gründen beschränkt JTLs EVO Template die Maximallänge von Kundenpasswörtern leider hart im Template.

          Ich will an der Stelle nicht beurteilen warum so ein niedriger Wert angesetzt wurde, sehe jegliche Passwort Restriktionen (welche nicht zur erhöhten Sicherheit beitragen) aber als extrem kontraproduktiv an.

          Die Maximallänge kann in der register/form/customer_account.tpl angepasst werden – im eigenen Sub Theme, nicht im EVO versteht sich. Der Wert muss für beide Passwortfelder angepasst werden, Attribut „maxlength“.

            JTL Shop 4 LESS Kompilierung ohne EVO Theme Editor

            Einerseits ist das JTL Plugin „EVO Theme Editor“ sehr praktisch, um ohne Entwicklungsumgebung kurz eine Änderung zu machen, andererseits für die Entwicklung von Themes / Templates von Grund auf eine ziemliche Quälerei. Einfach weil die Handhabung auf Dauer zu umständlich ist und ein ‚richtiger‘ & personalisierter Code Editor dem eingesetzten ACE Editor eben doch stark überlegen ist.

            (mehr …)

              Fix blurry skewed pseudo elements (before & after) in Firefox

              Problem: I have some buttons with one skewed side using skewed, absolute positioned pseudo element. In Firefox the pseudo element (::before) looks blurry and the blur overlaps the parent element, so it looked really bad.

              Solution: After a failed Google search i tried to fix it on my own. The simple solution is: Add transform: skew(0) to the parent element.

              (mehr …)